There are several integrations outside of sync and dispositions that provide us with basic call tracking back into our monday.com environment.
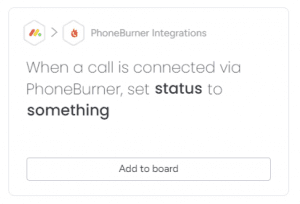
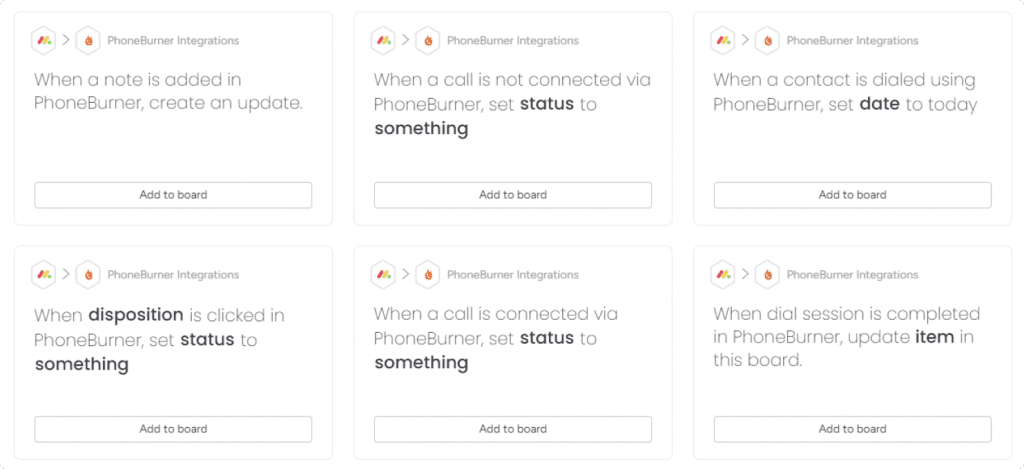
“When a call is connected, set Call Status to Connected”
Here when a call is connected, you can choose the status change on monday.com, just like standard automation.
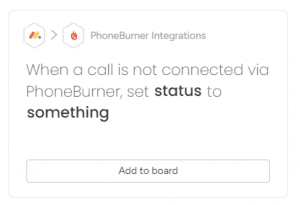
“When a call is not connected, set Call Status to No Answer”
Like the connected call integration, this allows you to choose the status when a call is not connected.
“When a record is called in PhoneBurner, set Date to today”
This will effectively allow you to keep track of the last called date; however, you can set it to any date column you’d like.
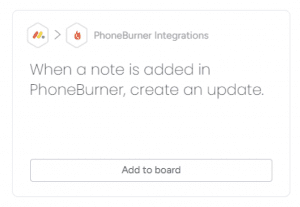
“When a record is called in PhoneBurner, create an update with Notes”
Note: Most users will choose to leave notes in one of two ways, either on monday.com directly OR inside the dialing session. With this integration, any notes left in a dialing session will automatically be brought back as an update inside the item on monday.com.
How to Install the Integrations
Note: You will need to follow this step for all call tracking integrations. Please make sure you are inside the correct board when installing the integrations. (The board where your dialing view is)
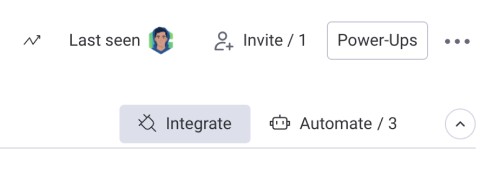
Click Integrate
1.) In your board in the upper right-hand corner click “integrate”, from here you will want to choose “+ Add new integration”.
Search "Record & Call Tracking"
2.) Once inside the integrations center, search for “Record & Call Tracking” and select it.
Choose Integration
3.) Once inside you will see a bunch of integrations that are part of the app. Choose one of the integrations talked about in the above section and click “add to board”.
Select your Account
4.) After you click “add to board” you will be brought to the PhoneBurner account screen, choose the account that you added.
Note: You will have to select the account for each integration added.
Map Your Fields
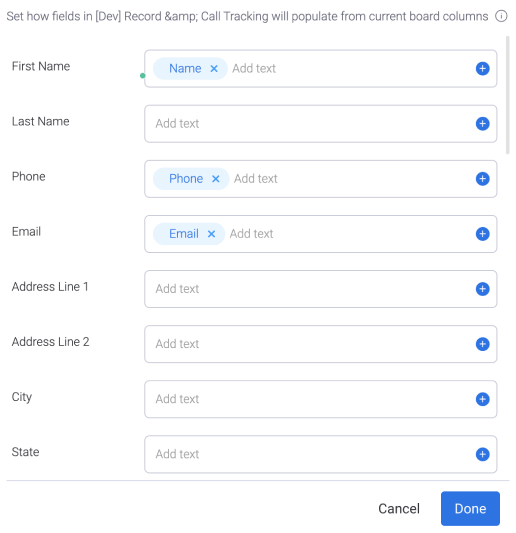
5.) After choosing the account, you will be brought back to the integration screen where you will have to map your fields so that your data has a spot to stay.
Note: If you do not map your fields, data will not sync between monday and PhoneBurner.
Disposition Tracking
PhoneBurner enables a dialer to disposition a record and automate the steps following it; such as leaving emails, voicemails, or just an update. PhoneBurner monday.com Disposition Tracking enables you to track those dispositions back into your work environment, keep a record of the dispositions, and potentially further expand your process from them.
Dispositions are a set of call statuses that you can choose at the end of each call. These are important in helping you to track your calls and how your calls are handled. If you do not select a disposition at the end of the call, it may not count into your daily call count and it will not be handled correctly in reporting, or another user on your team might not know the outcome of the last call to the contact.
To access dispositions within PhoneBurner:
PhoneBurner > Call History > Dail Session Settings > Dispositions
Or as a team admin: My Account > Dial Session Settings > Dispositions
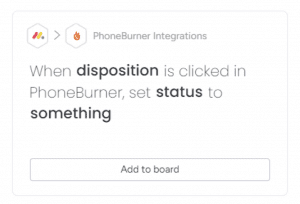
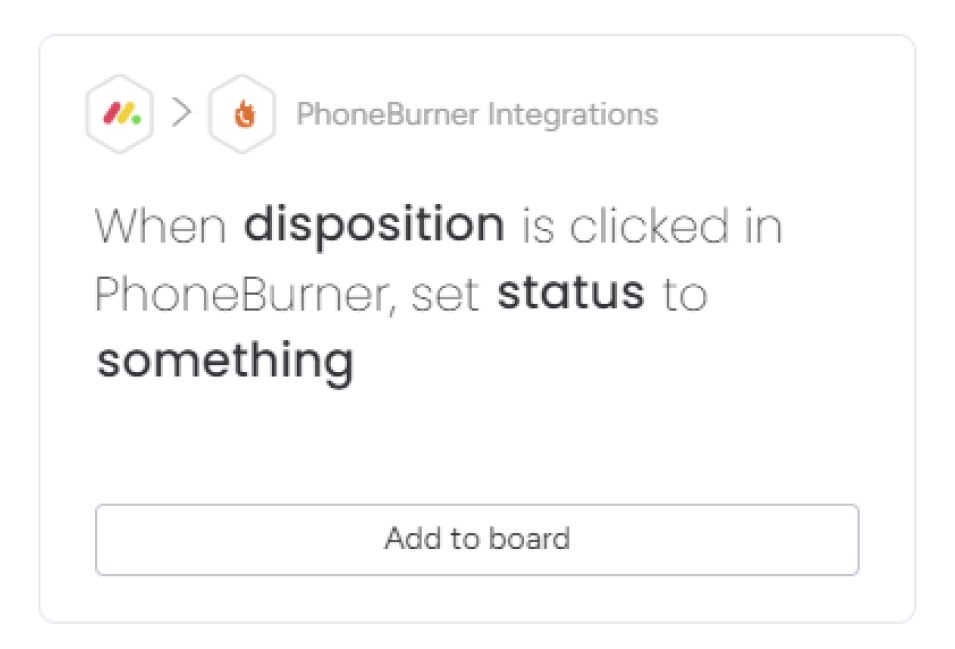
“When a disposition is clicked in PhoneBurner, set a status to something”
This allows you to add your specific PhoneBurner disposition and change a status of an item, similar to a monday.com automation.
Disposition Tracking Setup
Note: You will need to follow this step for every disposition you want to add. Please make sure you are inside the correct board when installing the integrations. (The board where your dialing view is)
Click Integrate
1.) In your board in the upper right-hand corner click “integrate”, from here you will want to choose “+ Add new integration”.
Search "Record & Call Tracking"
2.) Once inside the integrations center, search for “Record & Call Tracking” and select it.
Choose Disposition Integration
3.) Once inside you will see a bunch of integrations that are part of the app. Choose the disposition integration talked about in the above section and click “add to board”.
Select your Account
4.) After you click “add to board” you will be brought to the PhoneBurner account screen, choose the account that you added.
Note: You will have to select the account for each integration added.
Map Your Fields
5.) After choosing the account, you will be brought back to the integration screen where you will have to map your fields so that your data has a spot to stay.
Note: If you do not map your fields, data will not sync between monday and PhoneBurner.